Quick start guide
This guide will provide instructions to install the development environment and all the libraries needed to compile and debug the demo firmware SerizII A70CM The main steps are:
- Install and register LPCXpresso IDE
- Install LPCopen
- Install EmWin
- Install firmware and configure LPCXpresso IDE
Load and install LPCXpresso
Download LPCXpresso 6.1.2 ( or later ) https://s3.amazonaws.com/LPCXpresso6/LPCXpresso_6.1.2_177.exe
- Install and register the software (this will enable to work up to 256KB code size);
- The tools will install under the C:\NXP subdirectory
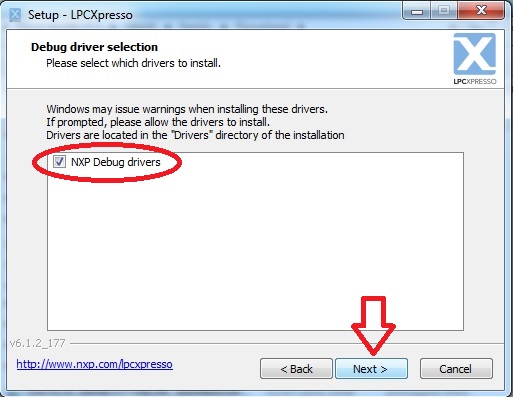
During installation tool will ask for debug driver install:
And then, Windows Security will ask about reliability of software driver:
- CDM driver package (tree times)
- Generic NXP driver (one times)
Click on “Install” to confirm
When all driver installation ends, click next
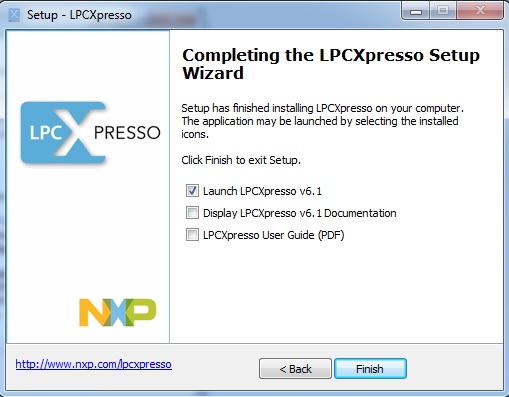
Select checkbox as figure above, then click finish.
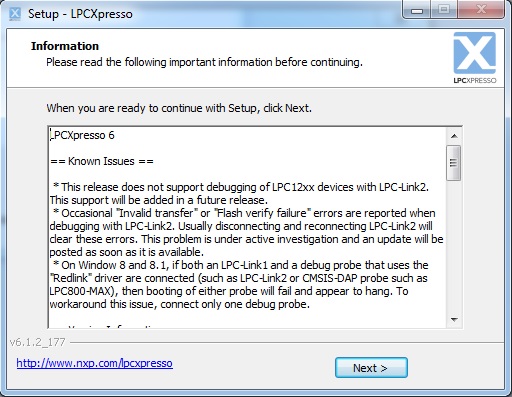
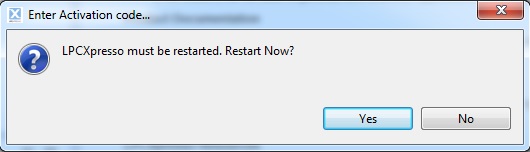
When LPCXpresso will open, follow free license registration instructions to work up to 256KB code size (see figure below)
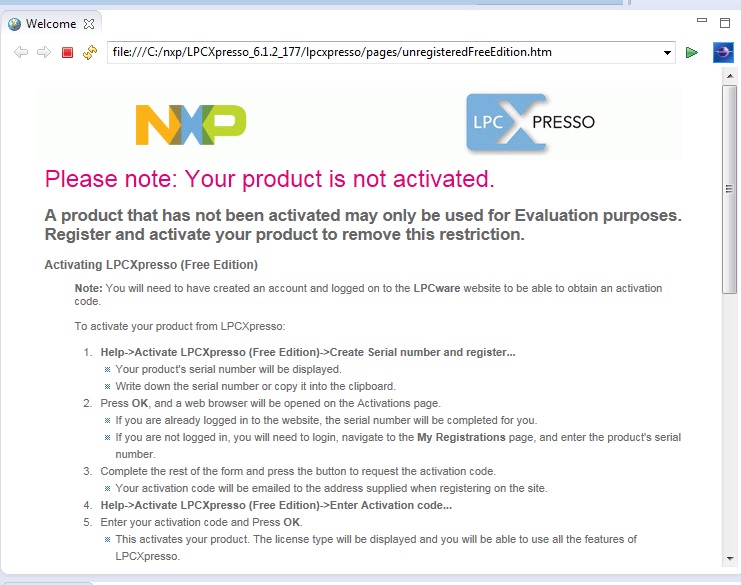
After activation success, click OK to restart LPCXpresso.
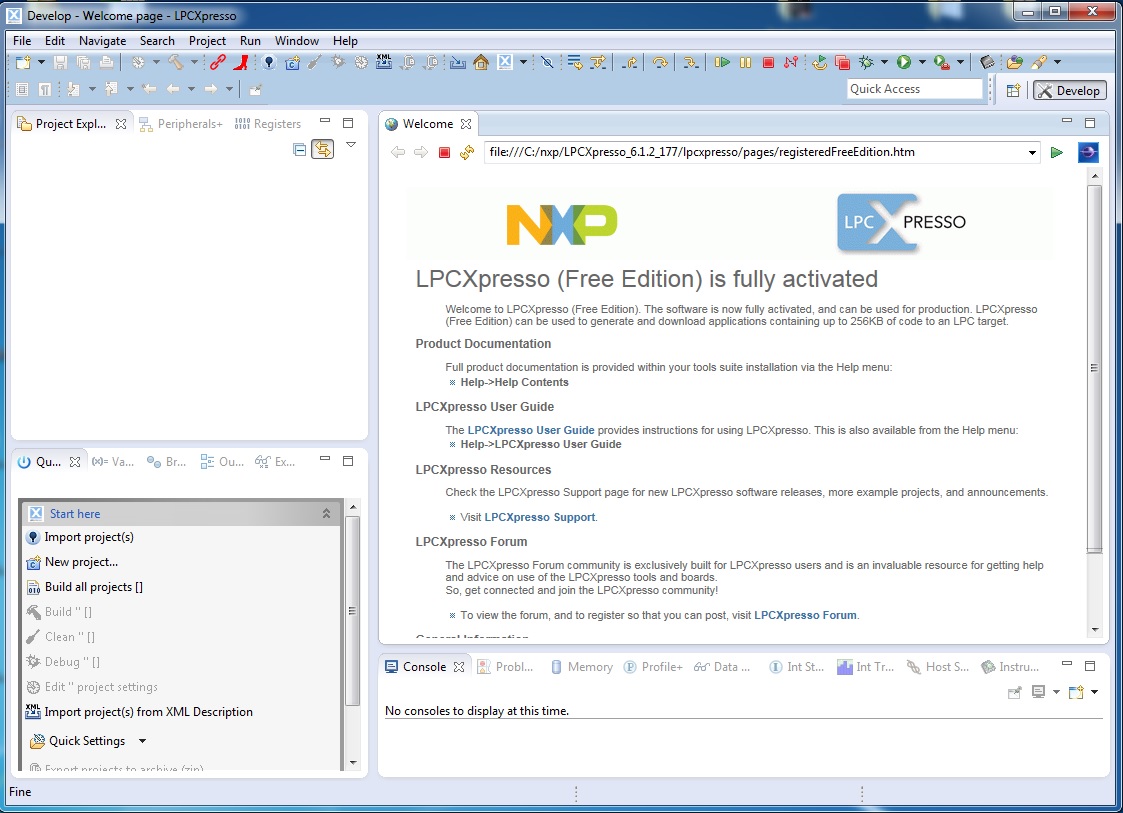
The “welcome” screen will appear, LPCXpresso succesfully installed
Load and install LPCOpen
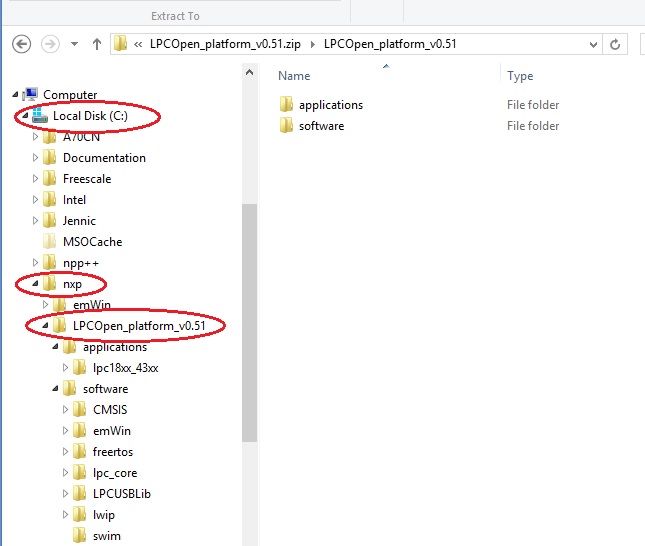
Download lpcOpen http://www.lpcware.com/system/files/LPCOpen_platform_v0.51.zip
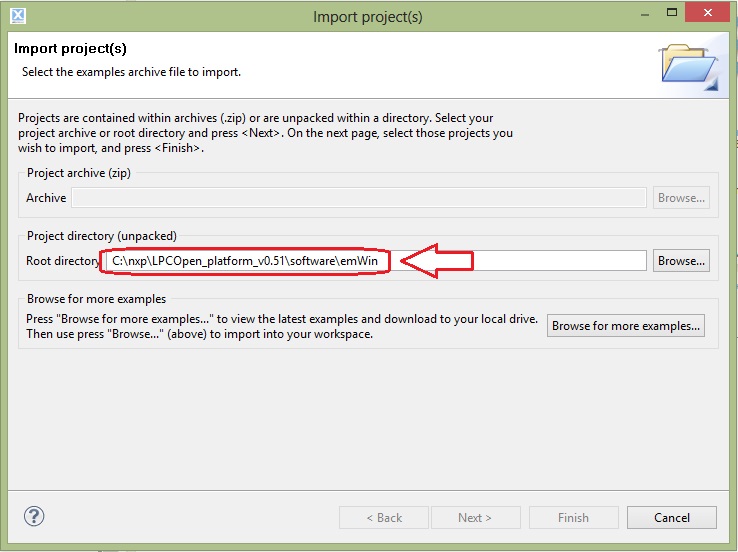
Extract the the zip content and put under the C:\NXP subdirectory. See figure below.
Load and install EmWin
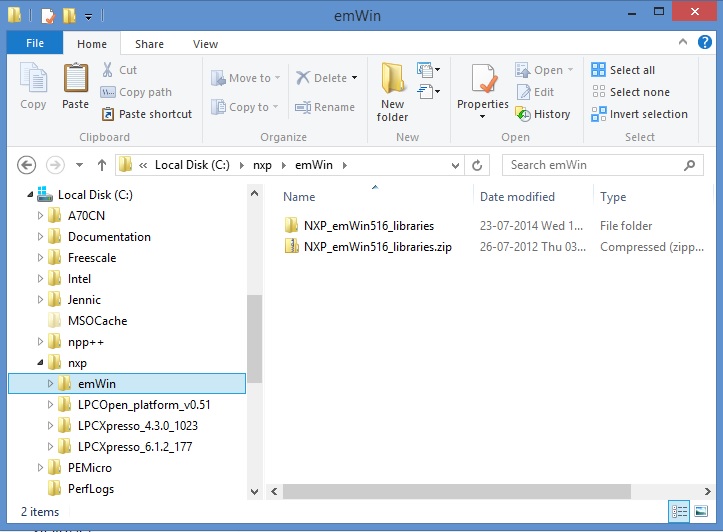
Download emWIn (not included for License issues) http://www.lpcware.com/system/files/NXP_emWin516_libraries_0.zip
- Unzip the download compressed folder
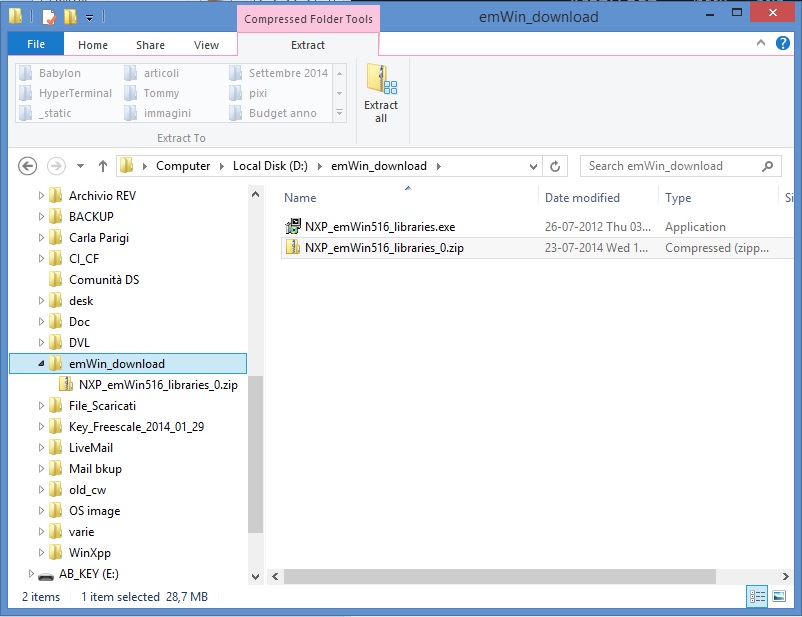
- Run the resulting file NXP_emWin516_librariers.exe, which will self extract a file named ‘NXP_emWin516_libraries.zip ‘ (located by default in C:\NXP\emWin\)
- Extract the content of NXP_emWin516_libraries.zip, which is the folder NXP_emWin516_libraries.
(sse figure above)
- Copy the contents of this folder to C:\NXP\LPCOpen_platform_v0.51\software\emWin
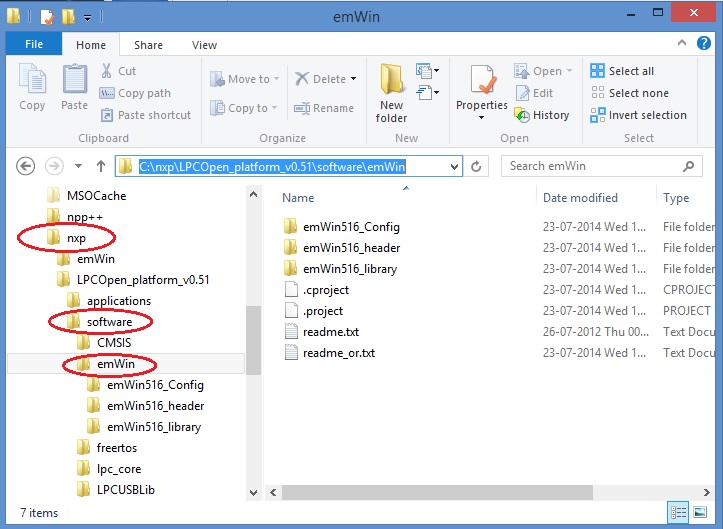
(it is important to follow the exact directory path, inside the project some files have relative reference to files included into the LPCOpen_platform_v0.51, any path change requires changes in this references)
Run the Babylon A70CM demo
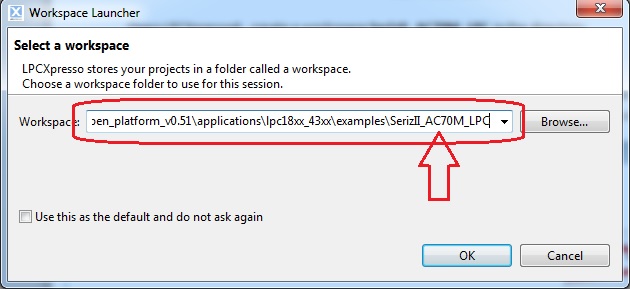
Open LPCXpresso6, create a workspace SerizII_A70CM_LPC in the directory C:\nxp\LPCOpen_platform_v0.51\applications\lpc18xx_43xx\examples\
(it is important to follow the exact directory path, inside the project some files have relative reference to files included into the LPCOpen_platform_v0.51, any path change requires changes in this references)
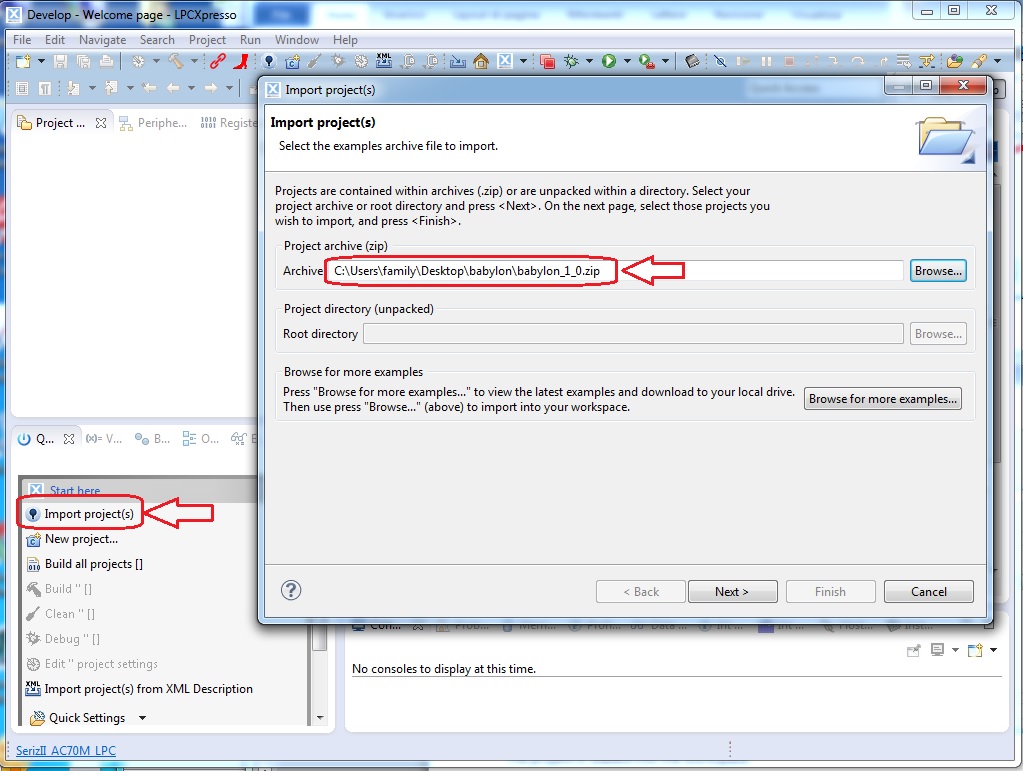
Import the babylon_1_0.zip into the workspace
Import project C:\NXP\LPCOpen_platform_v0.51\software\emWin
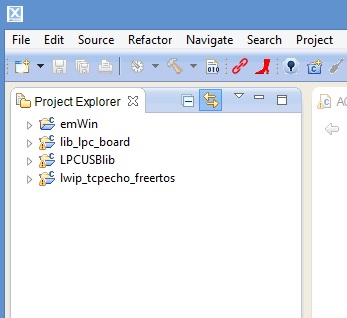
The project is loaded into the workspace
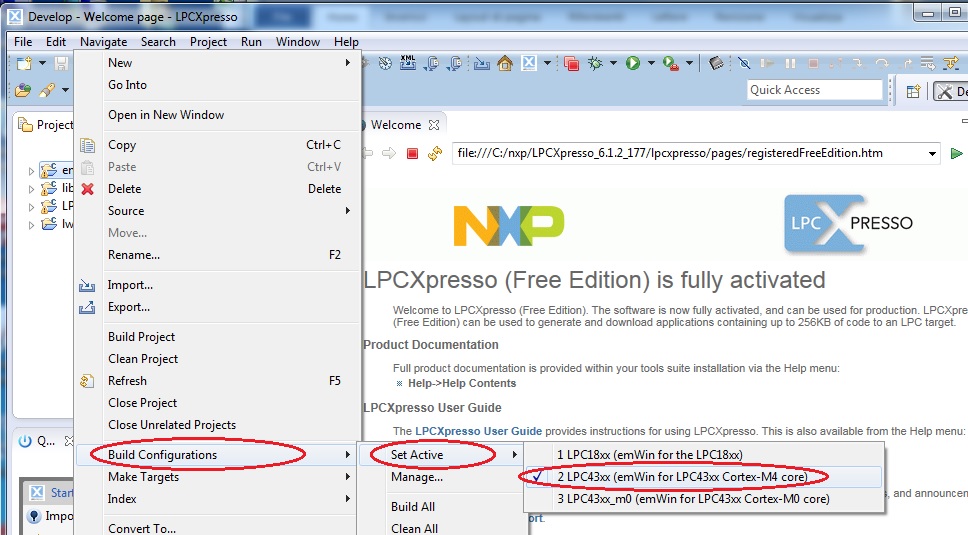
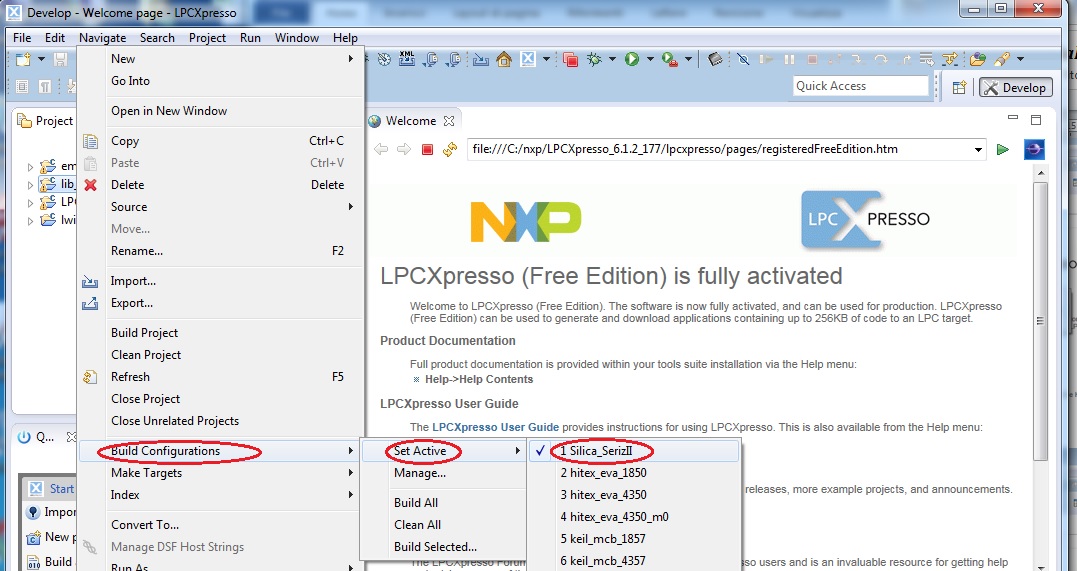
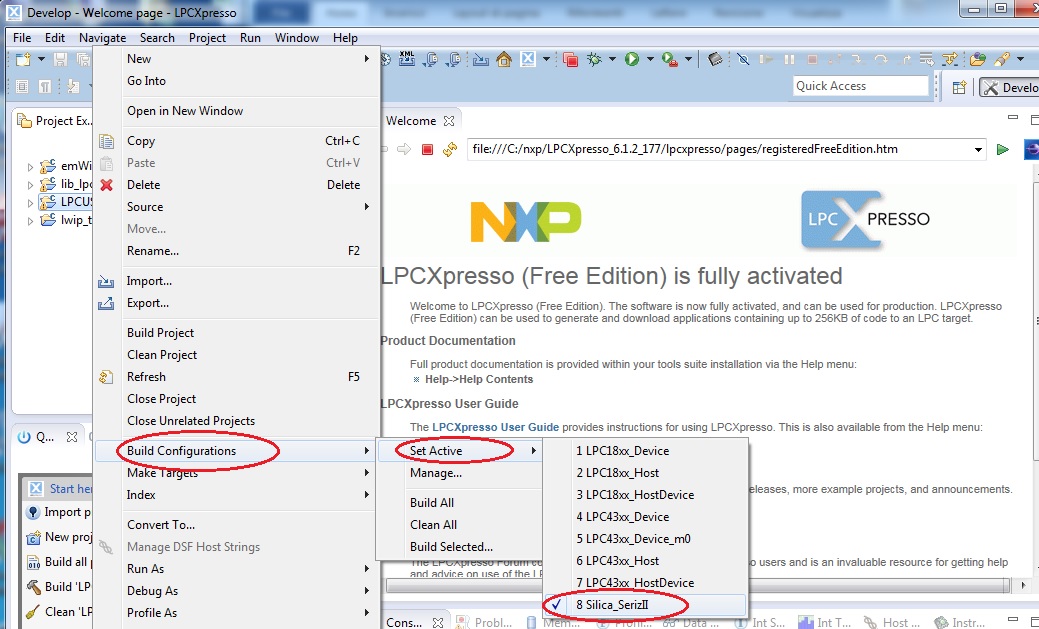
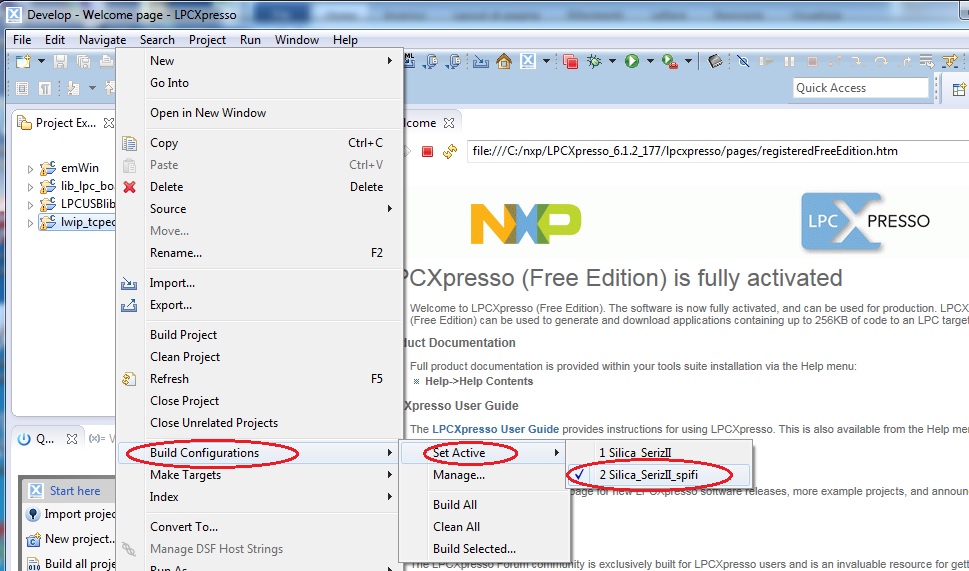
Configuring lwip_tcpecho_freertos
select as active the “Silica_SerizII_spifi”
Important
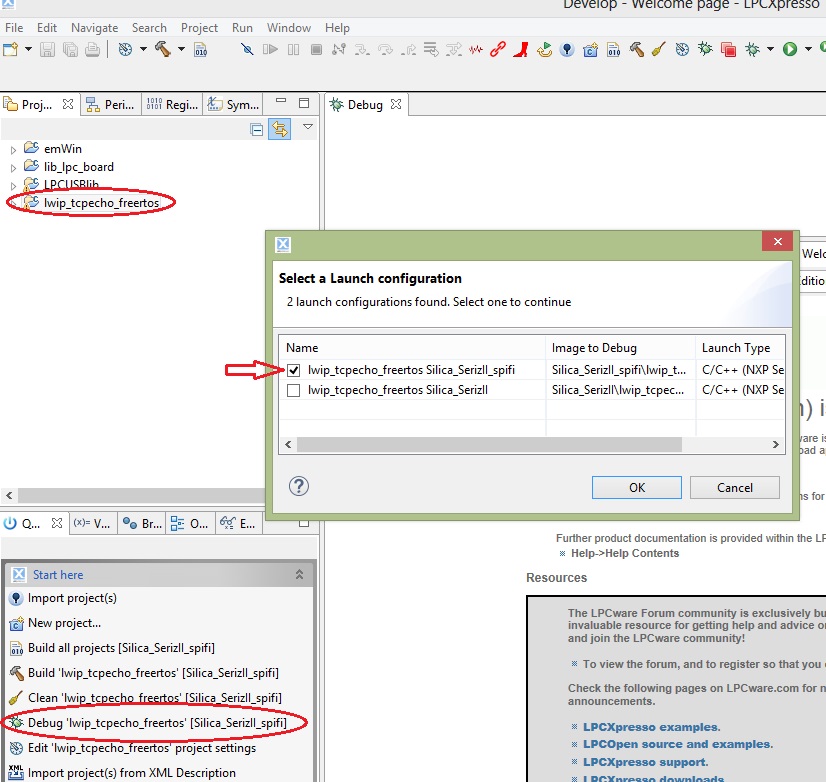
Compile and load firmware
Select the lwip_tcpecho_freertos project, select “debug”.
The compiler will warn there are no bin files, simple press OK, until the window “Select debug configuration for lwip_tcpecho_freertos” is shown.
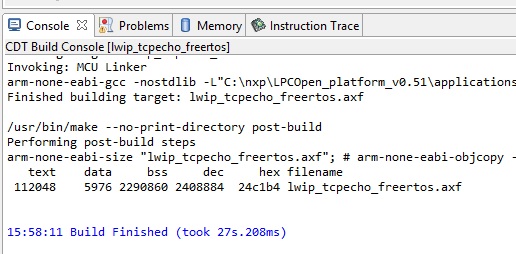
Setting OK, the compilation will start (take few minutes to compile).
End of compilation, select the JTAG port to use

The executable is downloaded into flash

Switch off SerizII, unconnect the emulator; Mount on the SerizII A70CM (Babylon board) add-on board, then follow Getting started Babylon A70CM to start evaluation